Showing posts with label BatRep. Show all posts

Monday, September 14, 2015

A Birthday Battle of Beneath the Lily Banners

The day after my birthday, I made the trek to Austin for a game of Beneath the Lily Banners with the Great Hall Games crew, and my best friend Evan. I'd cooked up the scenario a week ago, and Lance thought it sounded solid. The outnumbered Franco-Bavarian army, through superior generalship and daring maneuver, had managed to catch the Dutch and their British lackeys before their armies could combine. Stronger than either individual force, but weaker overall, the French left a token force (commanded by me) in place to pin the first army down (Randy), while the majority of the French and their Bavarian battle buddies (Evan and Wayne) moved to crush the reinforcements rushing to aid their beleaguered friends (Commanded by Lance and Biff, though Lance was called away before the game even started, due to a family emergency. All thanks to Lance, for lending us his beautiful minis to use, and we wish his wife a speedy recovery.)

Wayne, in the colorful shirt, commanded the French infantry and artillery. Evan, bottom right, only arms visible, commanded the French Cavalry and Bavarian infantry.

The French main force.

Lance/Biff's troops, British and some German minor principality forces, realize that They are our main target, not Randy's army.

The aforementioned Randy's army, at the other end of the board.
He formed his cavalry on his right flank, and split his infantry to march around the woods.

Close up on some British infantry, because damn that's a good paint job.

My blocking force facing Randy's army consisted of 4 battalions of Infantry, three regiments of Cuirassiers (seen above), 2 of Dragoons, and one of Bavarian Hussars (worthless).
When I initiated my cavalry charge, I rolled quite poorly, and 2/3 of my Cuirassier shock cavalry went from good order to 'Shaken,' halving their close combat dice and getting them utterly slaughtered right off the bat.

A few turns in, and my casualties are really starting to add up. The French line infantry (seen to the right of the photo) kept barely hanging on, slowly getting whittled down by the English and Dutch foes.

The British cavalry cuts through the French Dragoons like a hot knife through butter, and move towards the village anchoring my left flank.

A view from the British side of the river. All my infantry had, by this point, lost at least a third of their effective strength. But their job was to hold the enemy long enough to crush the Other allied force...
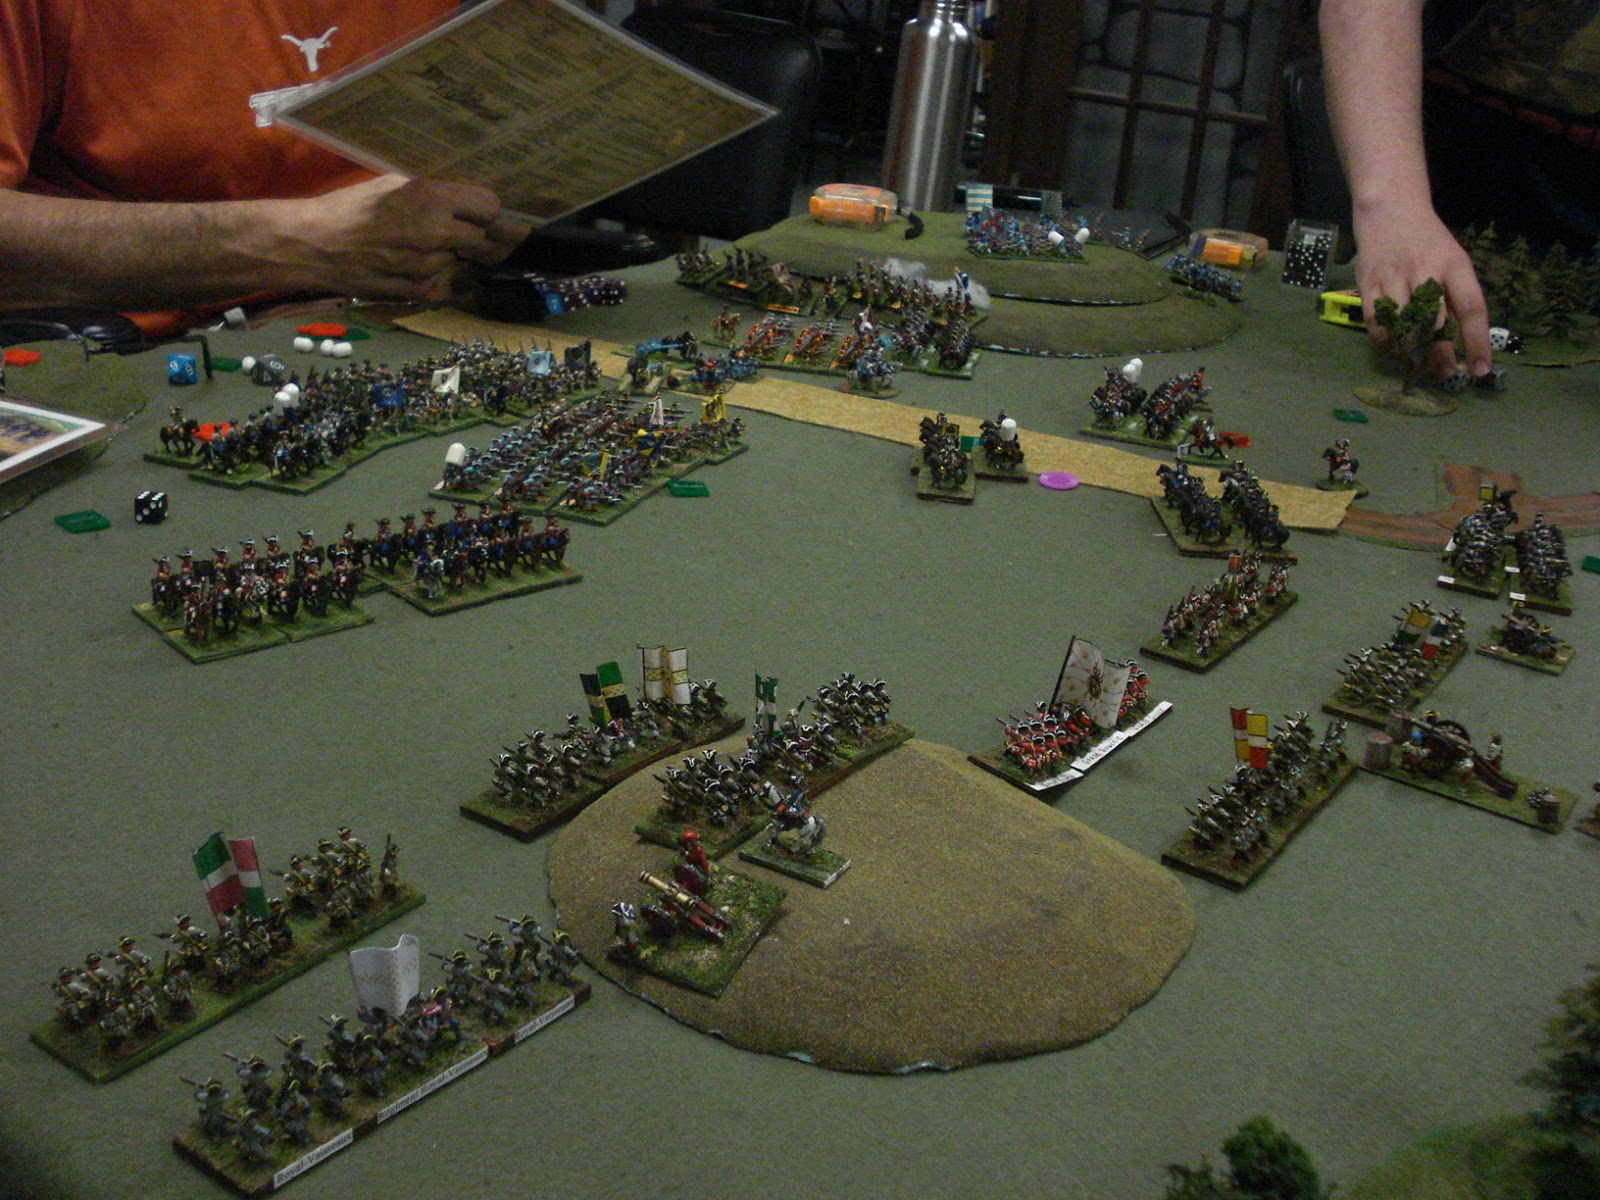
Which was going rather well. Evan's good dice rolls and natural cavalry elan made short work of his English/whatever foes, driving them back and slicing deep into the infantry columns behind them. Meanwhile, his Bavarian infantry summitted the hilltop and began to deploy into line, while the beleaguered allied army rushed a few infantry battalions uphill to meet them.

Here you can see Biff's infantry attacking the Bavarians atop the hill, while the French cavalry (right) pushes deeper into enemy lines.


Meanwhile, on Ben's end of the table, the British push into the village and my remaining forces begin to withdraw. But help was coming! A full brigade of fresh French forces had turned from the attack to help shore up my failing lines. (See the road, leading away from the village)

Evan's Bavarians making short work of their foes, begin turning the enemy flank.

Since the store was close to closing, we decided that night had begun to fall, ending the day's battle. I'm pretty sure we ruled that Biff's army had taken a severe pounding, and was in danger of being overrun. However, the holding force had taken far greater casualties than had been hoped, though they weren't wiped out. Overall, I think a tactical victory for the French, though not the overwhelming strategic win we'd been hoping for.

Maybe the next time we play, we can pick this up again sort of where we left off, determine what forces remain, how many reinforcements the depleted units would have gained, and see if the French can survive the counter-attack of both forces? Or maybe the partially mangled French army drives Biff's troops into route, but then has to turn and face the nearly un-touched Anglo-Dutch army under Randy's command?

Sunday, November 17, 2013

Firestorm Armada Battle Report

Some of us San Marcos sci-fi junkies got together to throw some dice around last night. This was our third game, so we're still figuring things out as we go. Example: The realization that all Dindrenzi Furies have Mines was a mid-game epiphany for the Dindrenzi players.

The lists came to 910/915 points

DSC02614.JPG
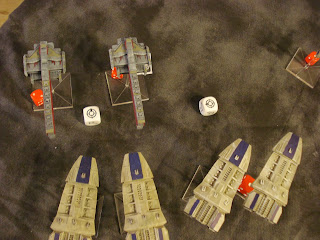
Behold, the assembled fleets!

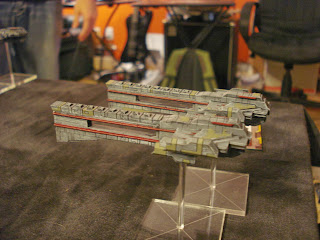
DFN Trident Class Destroyer (70) x4 = 280
DFN Hammer Class Frigates (25) x4 = 100
DFN Fury Class Cruisers (60) x4 =240
RSN Banshee Class Dreadnought = 230
RSN Phoenix Class Destroyer =65                         for a total of 915 pts


I know you can't field a single Phoenix class destroyer, we were pretty much trying to throw an equal number of points, and this was the most effective way to do it. Cut us some slack, lol. We were also playing a little fast and loose with the allied point percentages, but the Dreadnought was my only large ship for this side, etc. etc. We're still trying to get a good handle on the rules, so just, y'know. Let it happen.

Sentinel Cruiser (65) x6 = 390
Pilgrim Frigate (20) x6 =120
Razorthorn Battleship = 180
Veydreth Gunship= 90
Veydreth Destroyer (65) x2 =130                    910 pts


Again, an almost entirely legit list... except that the Veydreth gunship was supposed to be 2 to a squadron. Moving right along. TO BATTLE!

DSC02617.JPG
The Dindrenzi show their TRUE colours! heh heh, I'm just trolling, you guys. Couldn't help it.

DSC02618.JPG
Our intrepid Dindrenzi fleet commanders

DSC02620.JPG
The Dindrenzi positioned the majority of their medium ships on their right flank.
The Dreadnought and both Frigate squadrons were in the center, near the
craters we used as impassible, line of sight blocking terrain, while the final
squadron of Tridents and the singular Phoenix class Destroyer were on the
Dindrenzi left.


DSC02621.JPG
An enthusiastic Terran admiral shows his.... um, Enthusiasm, I guess,
and you can see our deployment, with the Veydreth and a Pilgrim squadron
on our right, a battleship in the center, supported by two of the veydreth, with
cut engines and hidden killer, while our six cruisers and remaining three Pilgrims
amassed on our left flank to challenge the might of the Dindrenzi squadrons facing
them there.


DSC02623.JPG
A mighty Terran battleship turns its turrets on the distant foe

DSC02624.JPG
The fearful RSN Dreadnought powers up its engine and blazes forwards
to meet the only foe worthy of its attentions.


DSC02625.JPG
Sidenote, I'm pretty happy with how my Dindrenzi paint scheme turned out.

DSC02627.JPG
With their engines powered down, the Dindrenzi Tridents are a major threat to the Terran
cruiser squadrons, so the stalwart squadron of Pilgrims races forwards, trying to close the range
enough for the Terran targeting computers to acquire a target lock.


DSC02628.JPG
Outnumbered and out-gunned, the Veydreth Gunship takes a brutal pounding as it makes an
almost parabolic course through the narrow confines of the whatever-the-heck-the-space-terrain-
that-blocks-movement-and-LOS-would-be...


DSC02629.JPG
But the plan becomes clear as a series of formidable mines now choke the access points
that would allow the Dindrenzi forces to outflank the vulnerable Veydreth destroyers and come in
behind the Razorthorn.


DSC02642.JPG
This shot is from the very end of the game, but you can see the danger-zone of the mines, marked
with those neon orange/yellow dice, brilliantly deployed to keep the Tridents/Phoenix outside of RB2,
and therefore unable to target those Veydreth destroyers who kept pouring fire onto the enemy
Dreadnought for the entire game.


DSC02634.JPG
As the Dreadnought closes in, the Razorthorn brings its fearsome broadside to bear.
That orange, ornate die is there to signify sector shields to the starboard side.


DSC02635.JPG
Six dice thrown turns into a fearsome 20 hits!

DSC02637.JPG
Overcome with emotions, the thrower of said dice takes a moment to celebrate.

DSC02639.JPG
The massed Cruiser action heats up as the lines close up. The scatter dice you see
represent mines, which the Dindrenzi players only noticed at this later stage of the game.
..

DSC02640.JPG
And promptly begin dropping them right in the face of the Terrans, willing
to risk destruction so long as they drag a few more Terran naval officers
into the crushing oblivion of the void along with them.
Sadly, these mines
were quite ineffective.


DSC02642.JPG
With the Dindrenzi Cruiser task force crippled, the 5 remaining Terran Cruisers
make their way towards the enemy Dreadnought. With the two Veydreth destroyers,
5 Sentinels, and a wounded Razorthorn pounding away at it...


DSC02641.JPG
... and the damage mounting, the dreadnought's effectiveness is degraded
until it is little more than a floating hulk, venting atmosphere into space, it's engines
failing and multiple containment breaches across all levels.


At this point, we called the game in favor of the Terrans. Another turn or two might have seen the Tridents/Phoenix move into range of the surviving terrans, perhaps destroying another Cruiser squadron or even taking out the badly wounded battleship. Sam's brilliant minelaying tactics seriously hampered Dindrenzi movement along that entire flank, rendering almost 20% of their fleet impotent for most of the battle.

MVP for the Terrans is split between the Razorthorn, who negated FOUR critical hits with shields, heh heh, and those dinky, sneaky little Veydreth Destroyers, sneaking along the back field, throwing tons of dice at range while entirely untouched themselves.

The RSN's Dreadnought did a hell of a lot of work, being the only ship to target the Terran Razorthorn, and do tons of damage on it, too, DESPITE having almost all of the critical hits they inflicted negated by the shields. Even though it faltered in the end, it took a tremendous pounding and still wasn't destroyed.

As always, we had a complete and total blast playing, and I really hope that y'all enjoyed reading this battle report. It's the first one I've written up for this site, so I'm hoping I did an okay sort of job with it.

Comments, feedback, etc. welcome.

Victory: terran-logo-web1.jpg

Thursday, September 22, 2011

Games Were Played!

We still exist as a gaming group! Haha. We haven't played 40k nearly as much lately as we used to. I just got an Imperial Sector for my birthday (from the most amazing fiance in the world) and, while I don't have pictures up of it yet, over my birthday weekend, I had some of the gang over and we played 40k. Fun times were had!

My fiance is a huge fan of sci-fi and robots, so it's only natural she decided to try Necrons. She's 3-0 so far. HOW!? HOW, DICE GODS?!? Ugh, so unfair. Haha. Anyways, without too much commentary, here are a few of the pictures I took.

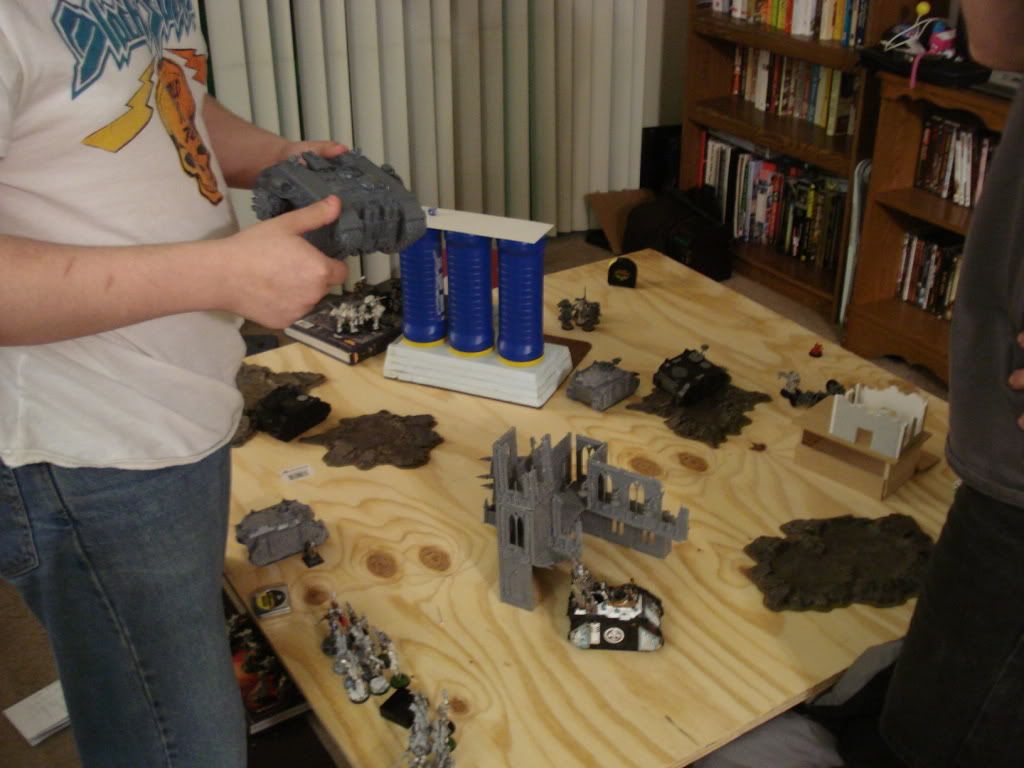
Hilton (left) Evan (center) Victoria (right) going through an introductory game. 540 points per side meant 1 assault squad, 1 tac squad, and a captain vs 20 Necron warriors and a Lord.

                         Here, Hilton explains something or other. Probably how cover saves work.

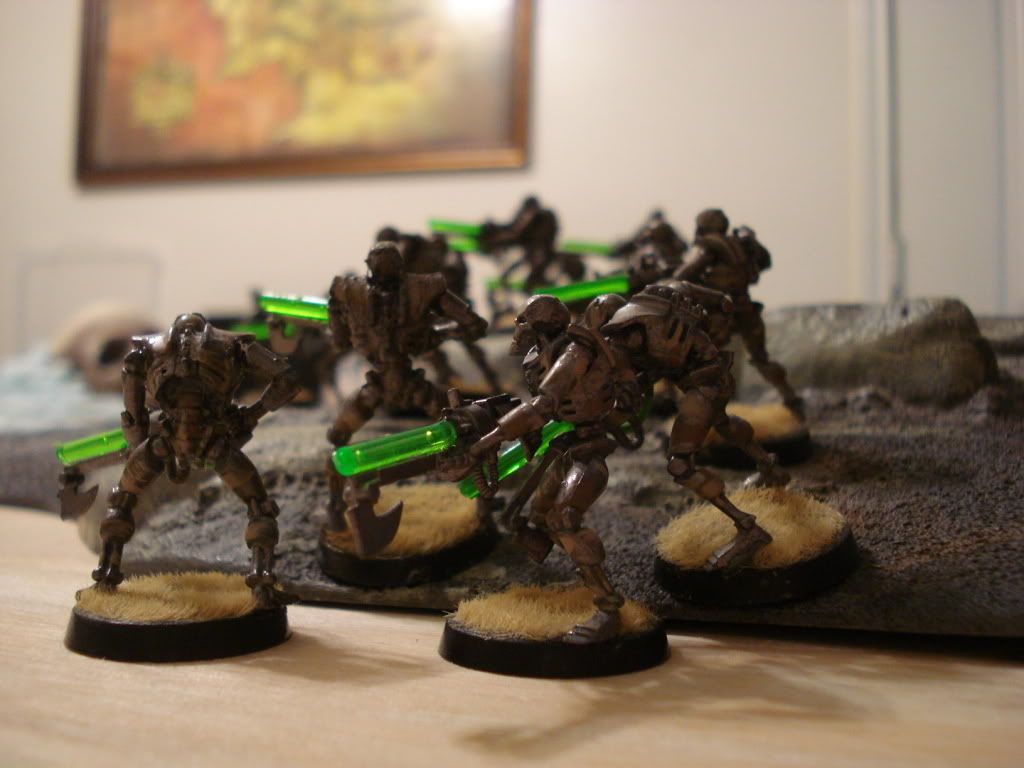
A squad of implaccable, soulless killing machines zaps and blasts their way through a squad of Space Marines.

Be aware, Imperial Citizens! This is the face of the Xenos! Also, Chaos. Multiple xenos, come to think of it...

Evan (blood angels) and Robert (Sisters of Battle) face each other for a brother against brother battle the likes of which haven't been seen since the War between the States! (With less tragedy.)

Jump pack troops face off. Also: UNPAINTED MODELS BRING SHAME UPON YOUR GROUP. SHAAAAAAAAAAAAAAAAAAAAAAAAAAAAAAAAAAAAAAAAAAAAAAAAAAAAAME!


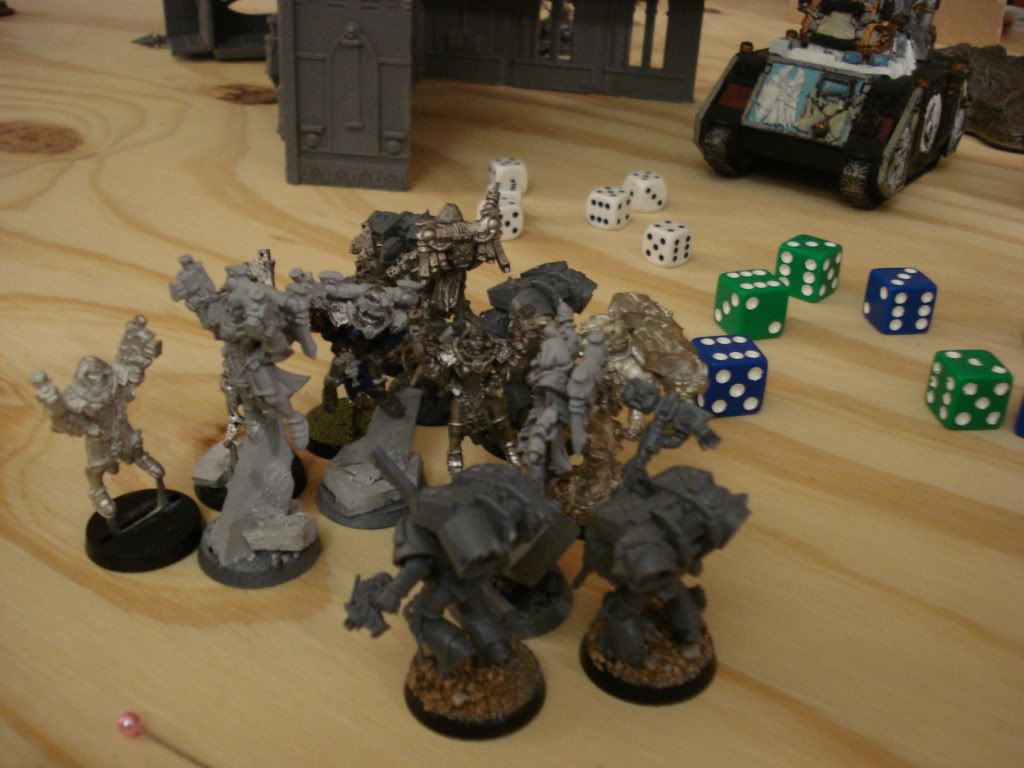
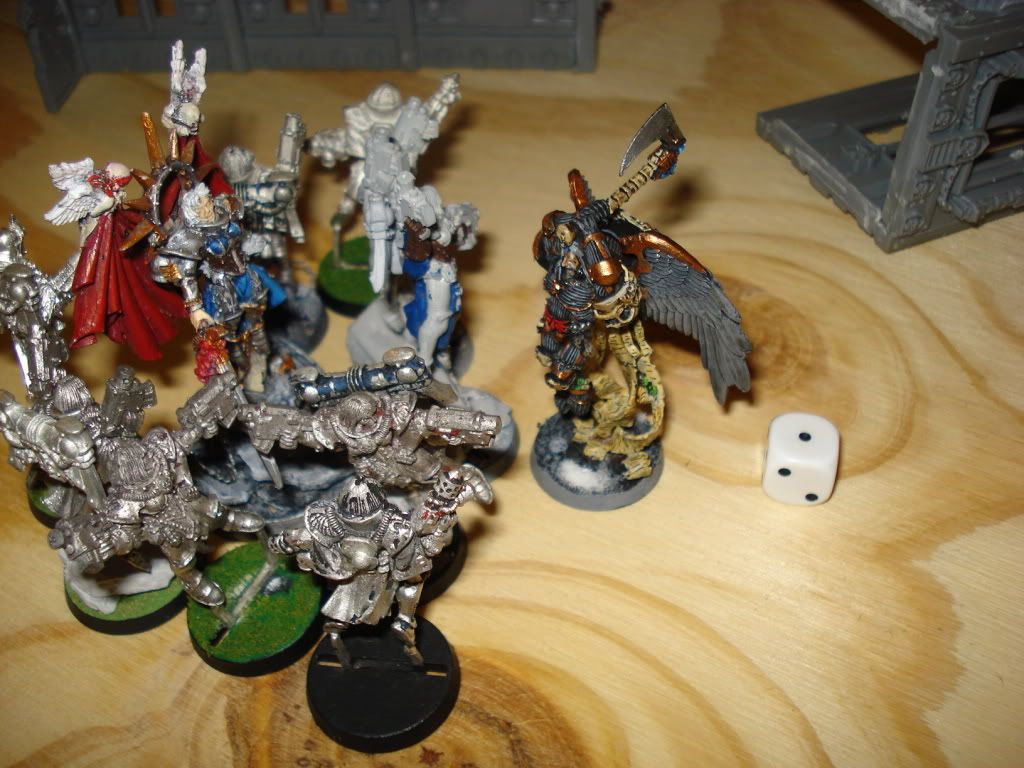
What's his name, of the Flesh Tearers, faces off (with 1 wound) against the Living Saint and posse.
                                                                       (He dies.)

In my... 1000 pt game? Against Ria's (Derek's) Necrons, I turtled my guys up. It would have worked better if I hadn't made some stupid mistakes. And also, if Ria's dark pact with the dice gods hadn't worked as well as it apparently did. IT'S UNCANNY. SHE ROLLS BETTER THAN HILTON. HOW IS THAT POSSIBLE

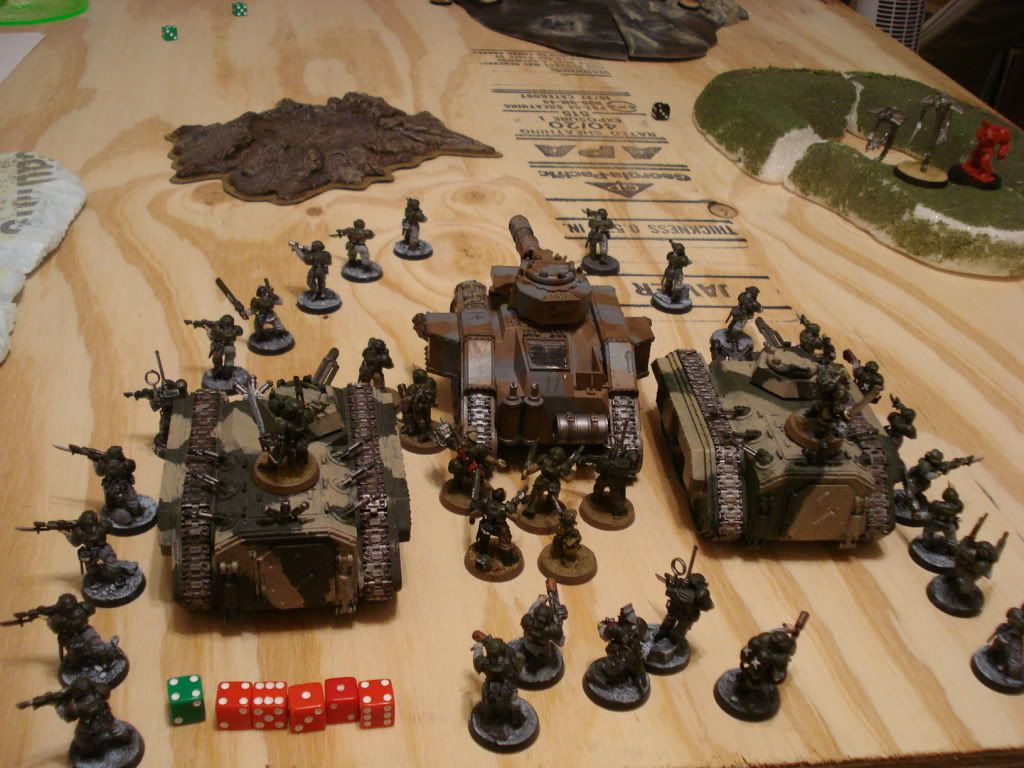
                          This was the last sight of many a brave guardsman that fateful day...

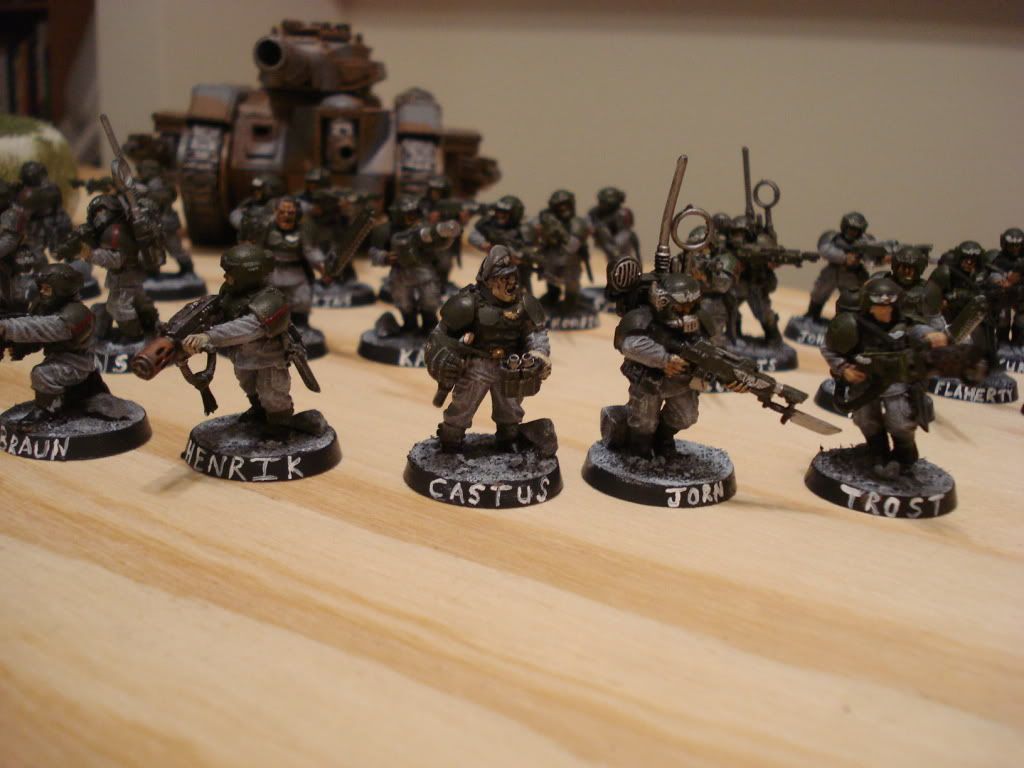
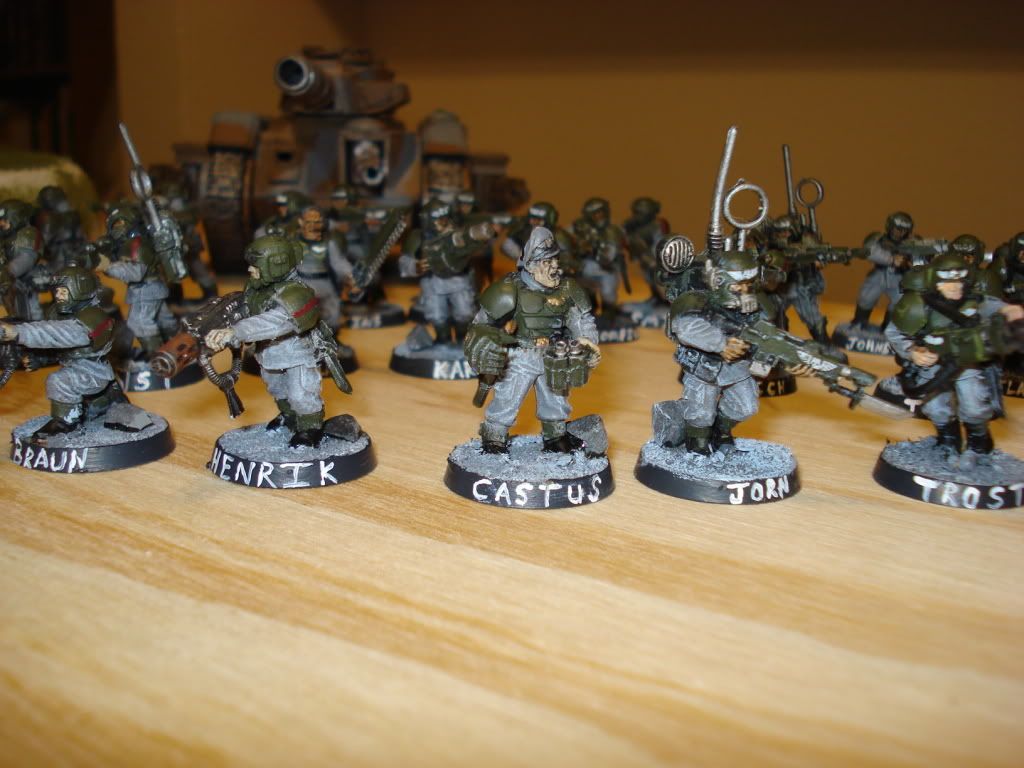
Speaking of brave Guardsmen, this is how my new paint scheme is coming along: (one was with the flash on, and one without. I couldn't decide which one I preferred, so here's both)

Coming up next time: Pictures of our new terrain.