Tuesday, October 18, 2016

A New Post, from England!

Well here I am in England, finally updating my wargaming blog! Almost 6 months to the day since my last update. The gaming club I play at here is incredible, and I've been splitting my time between Infinity, Warhammer 40k (Using the Heralds of Ruin Kill Team rules, check them out), and just recently Napoleon at War.

So! Here's an update on my current projects!

Armageddon Steel Legion special weapon conversions. GW only made a Grenade Launcher and a Plasma Gun model, so I've converted a couple lasguns into flamers, and carved a couple away entirely to replace with another flamer and a melta gun.

Also, a Company standard bearer! I didn't take a close up of his right arm, but it's from the Cadian command set, I pared away  most of the shoulder pad and filed it down to it Should look just like his normal cloth arm when painted. I'm not good enough to make it look like he's got a heavy glove on his bare hand though, sadly.


All set to burninate some Orks and/or other things

'Need a light?'

In other news, here are some French, marvelously well painted by the magnificent Stuart, and given over to me to command this past Sunday as we did battle against the perfidious Russians and English.

Unconventionally, we had our infantry on the flanks and Cavalry in the center.

My troops begin to shake out of column and into line as we face the brunt of, not only the Russian infantry, but the thunderous fire of their massed artillery battery.

In the center, our cavalry regiments took turns charging and then bouncing off of each other, until they were finally worn away to nothing.

Here, the french Right flank. The woods were thick with English riflemen, and the bayonet played as much a part of the fight as the musket. Other than the sharp engagement in the woods, his troops didn't play much part, other than to keep three battalions of Scottish Highlanders pinned on the hill. 

A close up of Stuart's fantastically, infuriatingly well painted French line infantry. I mean, goddamn look at those! Fantastic. I'm not half jealous.

And here, my own troops in progress, some Austrians.

They'll look better with some washes on the faces, and once they're fully based.

Sunday, April 17, 2016

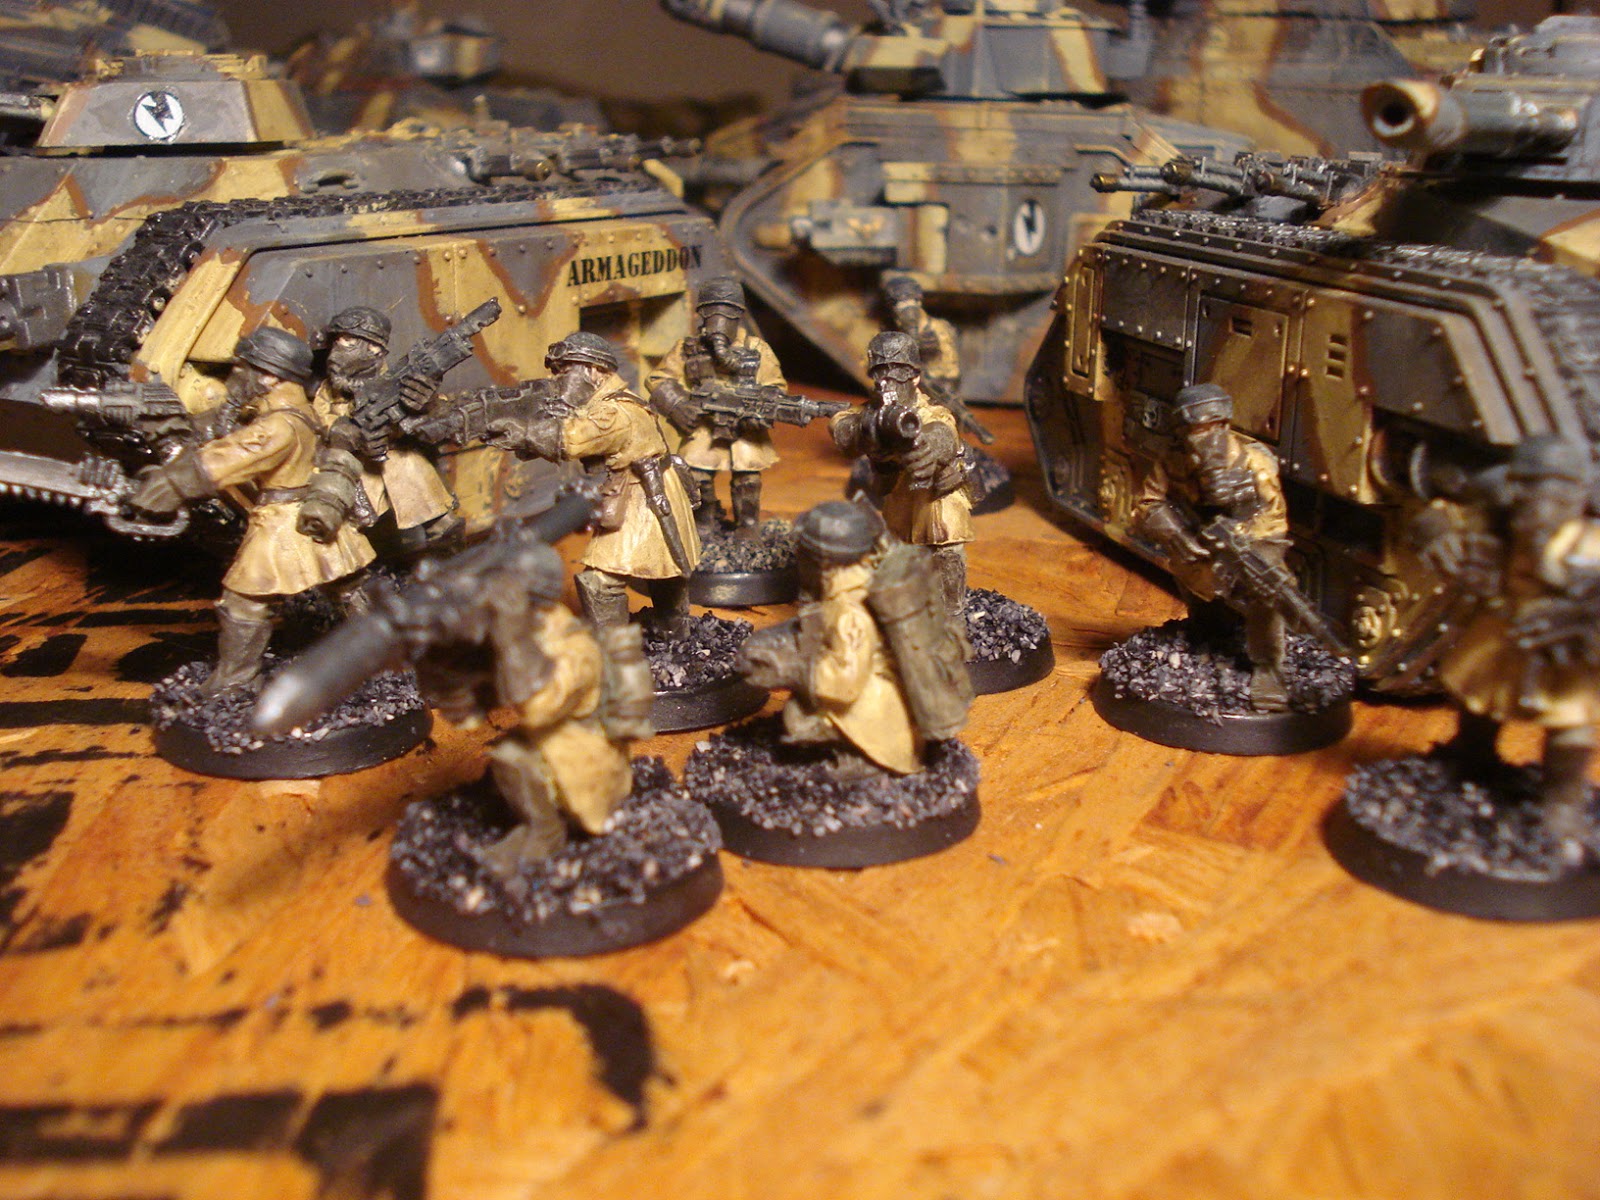
Armageddon Steel Legion!

Finally painted some of my Armageddon Steel Legion for 40k! And here they are. I've wanted some Armageddon Steel Legion for a long, long time, and now I've got some! I already had some tanks painted in that scheme, but I've finally finished a full squad of infantry, on this rainy, dull Sunday.


Hopefully next weekend, we'll be able to have people over and play some 40k. 

Monday, February 22, 2016

The Sword and The Flame

Walk wide of the Widow at Windsor, 
         For 'alf of Creation she owns: 
We 'ave bought 'er the same with the sword an' the flame, 
         An' we've salted it down with our bones. 
         (Poor beggars! -- it's blue with our bones!) 

Pictures from our exciting, multi-player game of The Sword and The Flame on Sunday. Four players took charge of the Imperial forces (Scottish Highlanders, Sikhs, a shore party of Royal Navy sailors with rifles, and a few more to man the gatling guns) found themselves under siege in Peshawar, after a local mullah roused the townsfolk to open rebellion. After striking a bargain with some of the local hill tribes and opening the city gates for them, they burnt out the telegraph office and sacked several offices, but the governor's mansion and barracks were hastily fortified. Dawn saw a renewed assault on the makeshift fortress even as patrols of Highlanders strove to return order to a city in flames...


The pictures are in chronological order, and when I'm less tired I'll work at writing up captions for each one and explain. To sum things up, the Imperialist forces were overrun in the barracks and governor's building. The Sikhs and Royal Navy personnel took horrendous casualties, and the officers, governor and his wife were either slain or taken prisoner. The Scottish patrols pushed back the rebels and were able to withdraw in good order, escaping the massacre to fight another day...

Sunday, February 7, 2016

The Battle for Hypatia Hive

The Achilus Crusade began in 777.M41, to reclaim the Jericho Reach from the sway of Xenos and Heretical forces. Under the command of Lord General Militant Solomon Tetrarchus, vast army groups of the Imperial Guard, Naval Fleets, Legions of Skitarii and Titans of the Mechanicus, and even the mighty Adeptus Astartes, march to war, to drive out the enemies of mankind.


The Crusade is taking place over three salients: designated Canis, Acheros, and Orpheus. The general Imperial strategy is for the Canis salient drive towards the core of Jericho Reach and crush native resistance while Acheros and Orpheus salients move swiftly through uninhabited rim worlds, encircling the core and disrupting Tau activities in the area.


In the Cellebos Salient, a bloody war of attrition grinds on against both secessionist and Tau forces. The world of Khazant has changed hands several times. The latest Tau counteroffensive, bolstered by newly arrived hunter cadres dispatched from the Sept of Velk'Han, has wrested control of three of the four primary hives on Khazant from the Imperial Defenders.

After nearly a week of bloody street fighting, Brigade Command withdrew all forces from Hive Hypatia to regroup and refit. Theater Commander General Erasmus Grachev, under intense pressure from Crusade Command, struggled to reorganize his shattered battle groups and launched a hasty counter attack on Hypatia.

Elements of the Cadian 1059th Infantry, Armageddon Steel Legion armored korps, and Krieg 143rd Siege Regiments were re-designated Task Force Cardogan and tasked with breaking through the Tau lines to establish a foothold back into the city for follow-on forces...


We started the above scenario the other Sunday at my place. We got one and a half turns in before we ran out of time and steam. There was an issue with timing, we got started late, and had a player unfamiliar with the rules. I didn't get any pictures of the game either. 

We decided that, story-wise, the Imperial counterattack, an armored thrust supported by heavy amounts of Death Korps of Krieg artillery, was far more than the Tau strike force had expected to reorganize so effectively. After suffering heavy losses, the Hunter Cadres pulled back, looking for better ground upon which to make their stand. Imperial forces will no doubt find their armored advantage nullified in the confines of the ruined hive's narrow streets...