These pictures were taken 3 or 4 weeks ago, during the third turn of the Firestorm Caen campaign. In a lucky aligning of schedules, I managed to play my games against Evan and Adam on the same day! As I go through and caption each photo, I'll do what I can, but it was while back so I might not remember everything.
Epron
Allied forces at Sword Beach have been battered by attacks by the 21st Panzer Division. The airborne troops that held Breville have been pushed back to the beachhead. Desperate to protect their shallow beachhead, the Allies have launched a daring attack directly into the German defenses around Caen.
Mission: Breakthrough
Terrain: Bocage
Allied Firestorm Troops: 4 AGRA-AOP, CT Command team, observer, staff team, 4 BL 5.5" artillery battery (or 200 points)
AND
6 Airborne Division-FV Rifle platoon with Command Rifle/MG, 6 Rifle/MG teams, 1 Piat team (all have gammon bombs and section mortars) (or 200 points)
Axis Firestorm Troops: 21 Beute Stug-3 CV 7.5 cm (Sf) 39H (or 200 points)
AND
III Flak Corps-RT Luftwaffe Anti-Aircraft Command SMG, 4 8.8 cm Flak36 guns with extra crew (or 200 points)
Campaign Map Location: Epron
Allied player name: Adam P
Axis player name: Benjamin E
Allied points: 2
Axis points: 5
It turned out that Great Hall Games had FAR fewer hedgerows that I'd expected. So instead of a true hedgerow battle, we settled for this kind of pseudo-hedge-y setup, the hedges fallen into disrepair around this small crossroads village.
A view from the other end. This game saw me facing off against Adam's British Paratroopers.
"Let's see how this whole 'artillery' thing works," thought I. It was okay, I think. Nothing too exciting happened, but I think that was mostly due to my dice rolling.
Adam's forces on the table. I don't really remember what happened, to be honest.
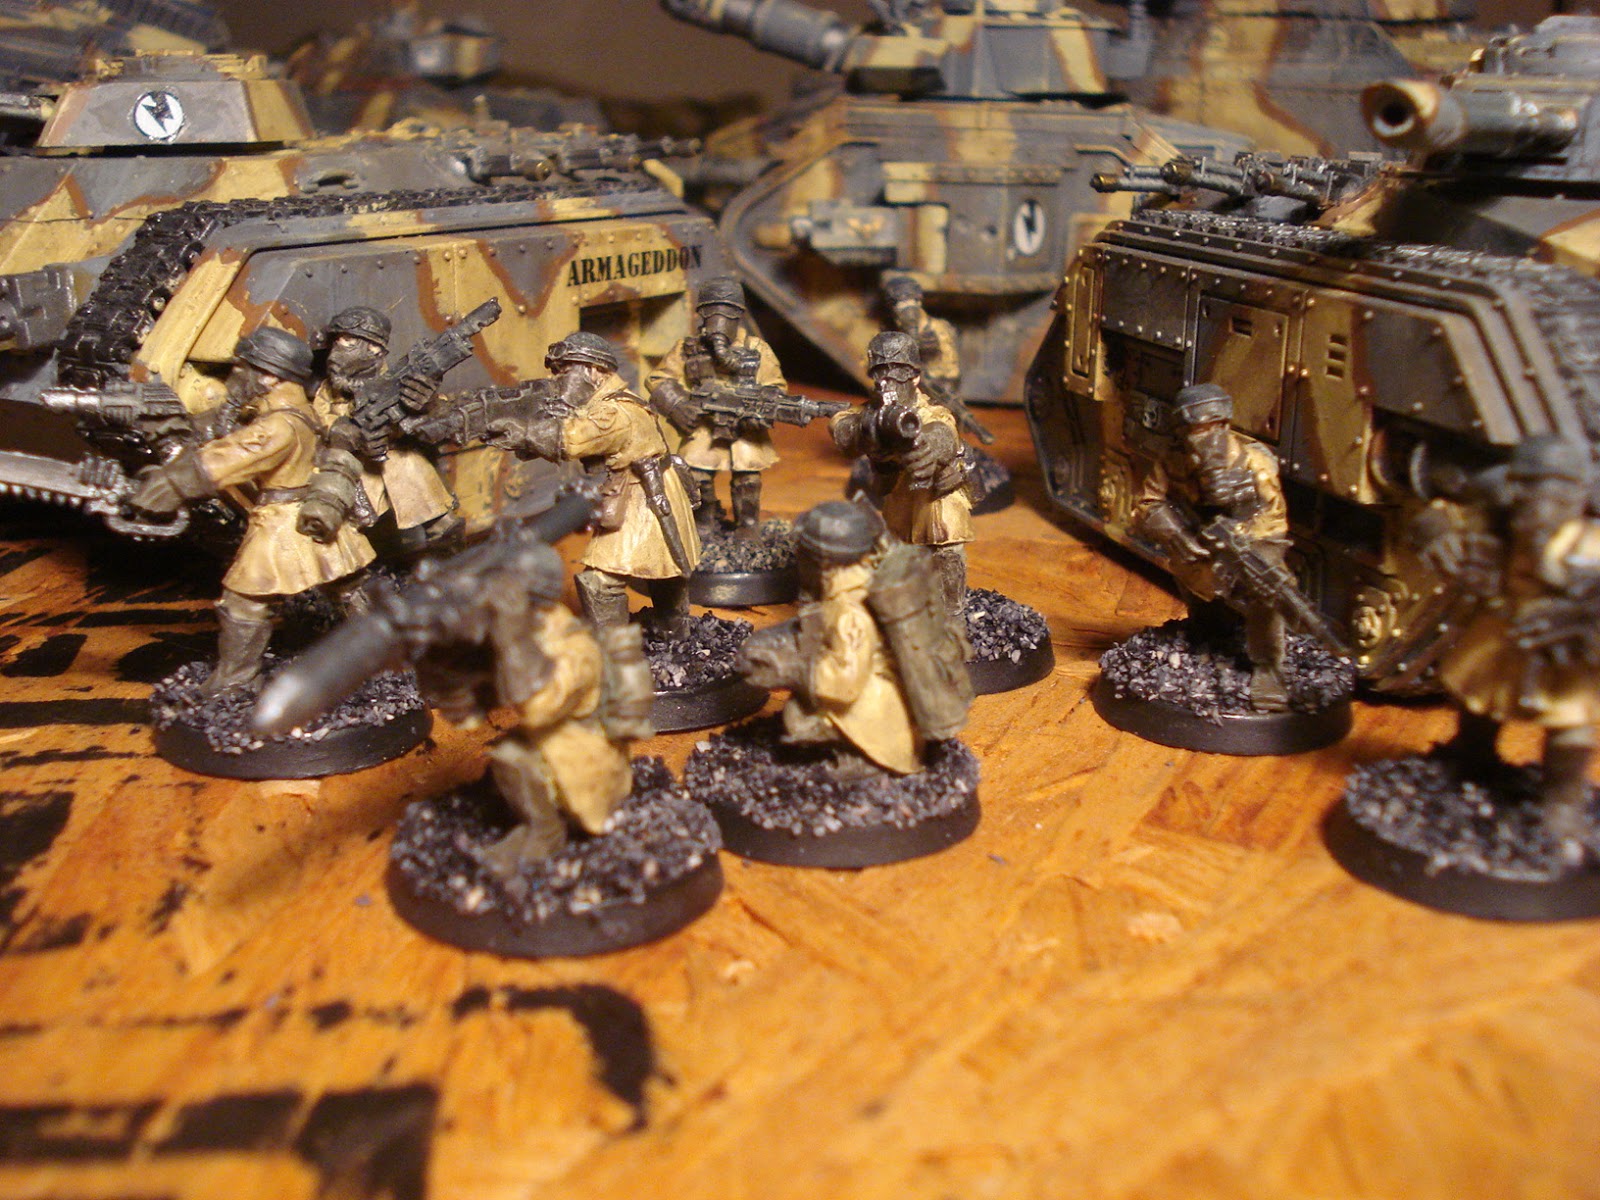
My defensive position.
I seem to remember the scenario being a very odd one, deployment wise. We deployed in opposite table quarters, with the enemy reserves arriving Beside us, maybe? I'm too lazy to go look the scenario up, but it sure threw us for a loop. In the end, I managed to pull off a victory without losing too many of my troops.
___________________________________________________________
The second game, against Evan, saw me change up my army list source for the first time, haha. The only way for German Grendiers on the western front to have Panther support is with the very generic army lists book that comes with the Open Fire boxed set. So finally, PANTHERS
Bretteville L'Ogueilleuse
The 11th Armoured Division, freshly arrived from Britain, have been tasked with breaking through the German lines at Bretteville L'Ogueilleuse. Supported by the tough Scottish infantry divisions, the 11th Armoured Division will attack into the heart of Normandy and engage in some of the largest tank battles in history.
Mission: Hasty Attack
Terrain: Bocage
Allied Firestorm Troops: 11th Armoured Division-CT 3 Shermans and 1 Firefly (or 250 points)
AND
51 Highland Division-RV Command Rifle/MG, 6 Rifle/MG, PIAT, Light Mortar (Sticky bombs, Cautious not Stupid) (or 100 points)
Axis Firestorm Troops: 12th SS Panzer IVs-3 FV Panzer IV H (or 250 points)
AND
CT Grenadiers-CT Command Panzerfaust SMG, 4 Rifle/MG teams, Pak 40 (or 100 points)
Campaign Map Location: Bretteville L'Ogueilleuse
Allied player name: Evan C
Axis player name: Benjamin E
Allied points: 4
Axis points: 3
We changed up the table, still a few hedges to muck up lines of sight and the ability to maneuver, but nothing too fancy. This view is roughly my side of the table, on the left there.
Evan's side of the table.
My army. Much smaller than last time. Panthers cost a LOT of points.
After rapidly chewing their way through a platoon of Shermans, losing one of their own in exchange, the Panthers swing around the British left flank and smash into the mortar platoons who hd been pounding my infantry positions.
In something akin to trench warfare, the German and British riflemen hunker down behind their respective hedgerows and trade fire for the majority of the game. The MG-42s weight of fire begins to tell...
... but not before another platoon of Shermans wipes out the SS Panzer IVs, and adds their own considerable firepower to add their embattled infantry allies.
Having made short work of two mortar platoons, the Panthers continue their drive into the English center, trading fire with english tanks, infantry, and taking no small amount of artillery fire, which was to knock out one (or maybe two, I can't recall) of their number over the last few turns.
Grenadier platoons and Machinegun platoons are bought seperately, but MG platoons can be split apart, and their troops added to the grenadier platoons to beef up their firepower. I absolutely love this rule, as every historical account I've looked at says that the Germans equipped their infantry units with vast numbers of machine guns, sometimes two per squad. While this is taken into account with the 'MG,' 'Rifle/MG,' and 'Rifle' designations for infantry bases, it really doesn't seem like enough. Two Heavy MG bases added to each platoon certainly seems to do the trick.
Goddamn Churchill tanks. I was really counting on my Panthers to make as short a work of them as they had everything else they came up against. Of course, Evan had other ideas.
The two Panthers here managed to wipe out the British rifle platoon holding the hedgerow, and my own infantry moved up to assault through to the objective (the red chip between the buildings there.) They were chewed up dreadfully by the Sherman platoon.
I forgot! Evan's arty in the lower left of this picture hd been pounding my forces all game. Since there was no infantry support near them, I attempted to assault them with a rifle platoon of my own. But direct fire from the guns pounded them into dust.
Verdammnt! The last of my Panthers are knocked out by those damnable Churchills. I'm pretty sure I killed one of them, which is better than my StuGs or Panzer IVs managed in earlier games, but still. The unit had simply taken too many losses by that point to take on all their foes.
That platoon of Panthers destroyed the following platoons: Shermans, Mortars, Heavy Mortars, rifle platoon. They were, without doubt, my Most Valuable Unit. And even if I couldn't take the objectives, I still bled Evan's forces dry, which narrowed the victory-point gap down to 'only barely a victory.'
The stars weren't in alignment for this game turn, sadly, and it looks like all of our divisions are going to just say that they've pulled out of the line to rest and refit, but we'll be back for the Final turn.